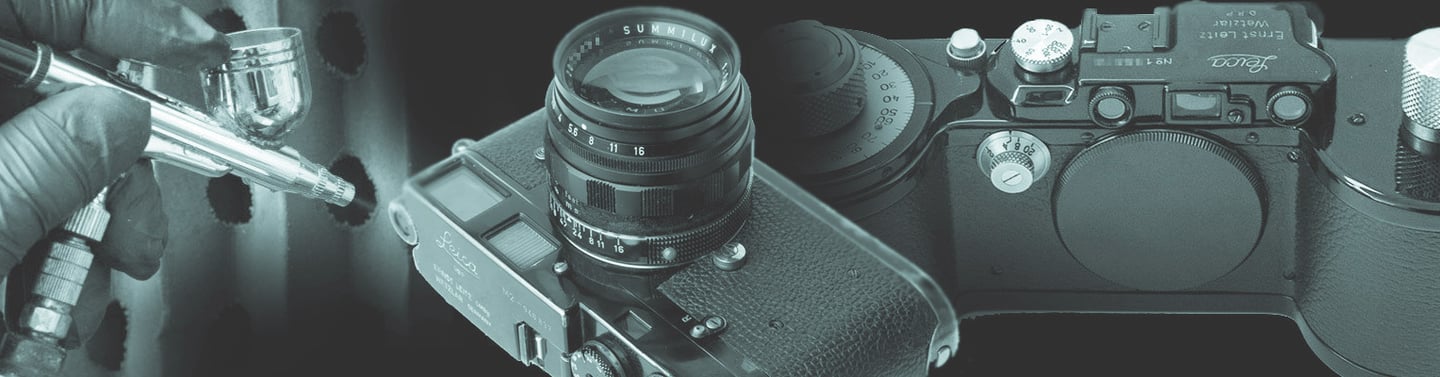

Lacquer restoration on original designs.
Lacquer restoration is a fascinating, precise and creative process, requiring significant expertise, innovation and subtlety to achieve a nearly invisible result.
Here are some examples of lacquer restoration:
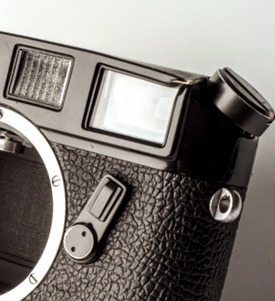
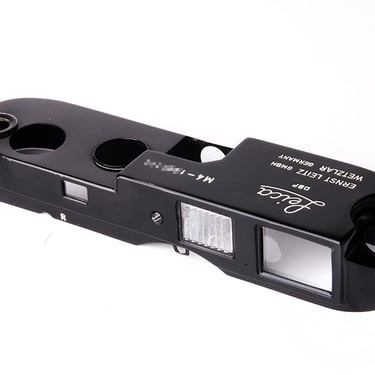
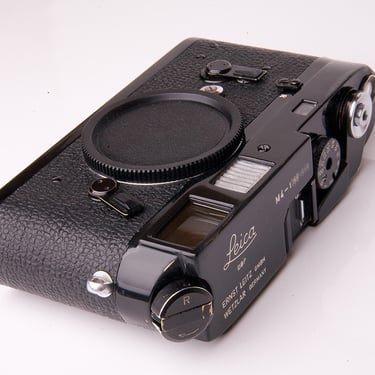
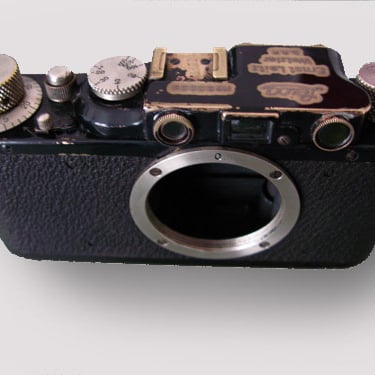
- Erasing some ugly and rough knife engravings from the top plate of a black lacquered Leica M2 or M4.
- Restoring lacquered components to an original black body that had been fitted with chrome elements over time.
– On a Leica 250 Reporter: Revealing the (Bismuth) original engravings that had been hidden under a layer of thick paint applied by a car painter..
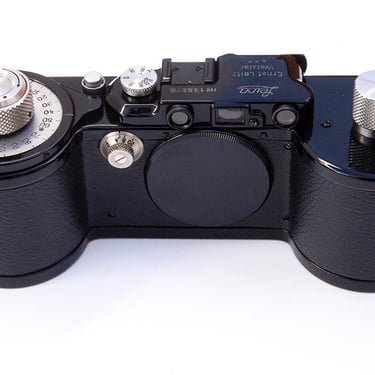
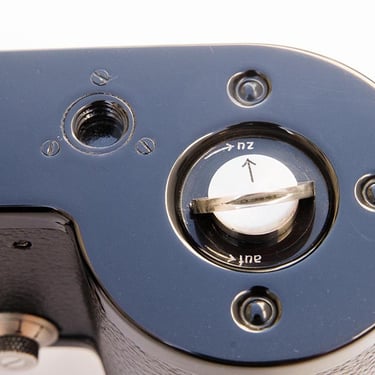
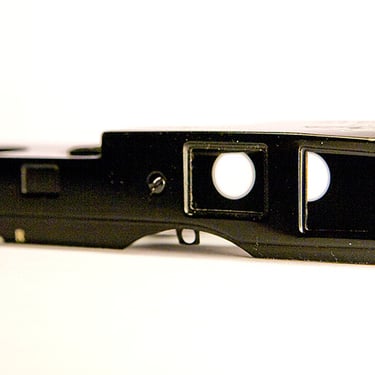
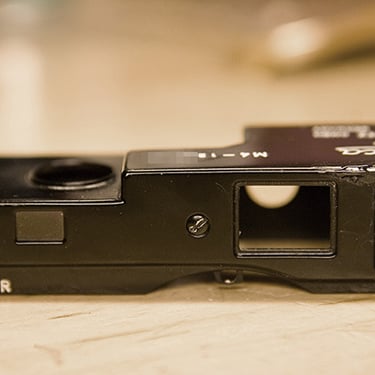
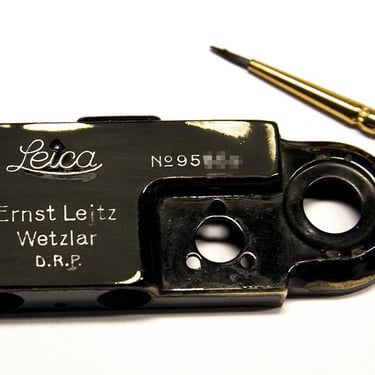
– Straightening and repairing the top plate of a M4 Black Paint damaged by a severe impact on the edge of the front viewfinder window.
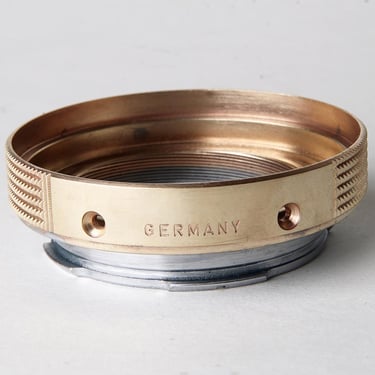
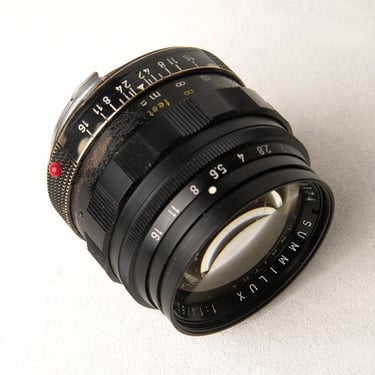
Dechroming the front ring/mount of a Summilux 50 V1, which had nearly lost all of its black paint, then lacquering it in black and applying a light patina to match the rest of the lens.
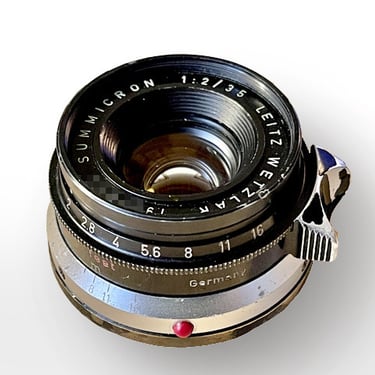
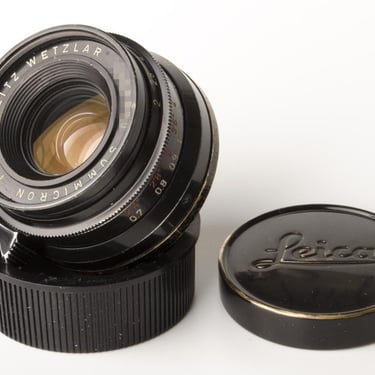
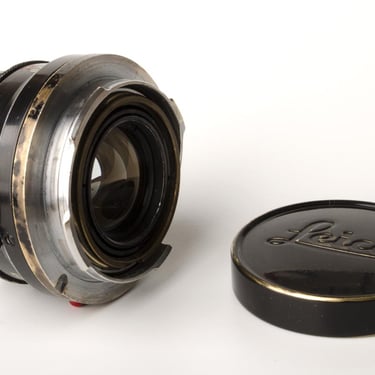
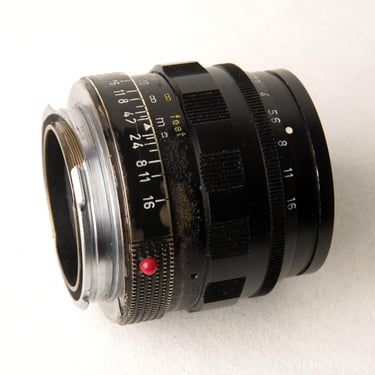
The same process was applied to a 35mm Summicron I (8 elements), which had lost all its black paint on the depth-of-field ring and the distance ring. Both rings were stripped, anodized black, lacquered, and given a light patina to perfectly blend with the rest of the lens.
On black lacquered lenses from the 1950s and 60s, it wasn’t uncommon for black lacquered lenses to be created out of silver lenses stock (chrome-plated or anodized), which were then lacquered black. It seems hard to believe, but the painters working on limited batches of black lenses apparently didn’t always take every customary precaution.
These rings, originally painted directly onto parts meant for silver lenses (chrome-plated or silver-anodized), naturally lost their black lacquer over time because it wasn’t painted on a surface suited for lacquer adhesion: which would either be brass (rather than chrome) or black-anodized aluminum.
Restoration of a Summicron 35mm v1
Other examples : Restoration of a Leica Couplex